
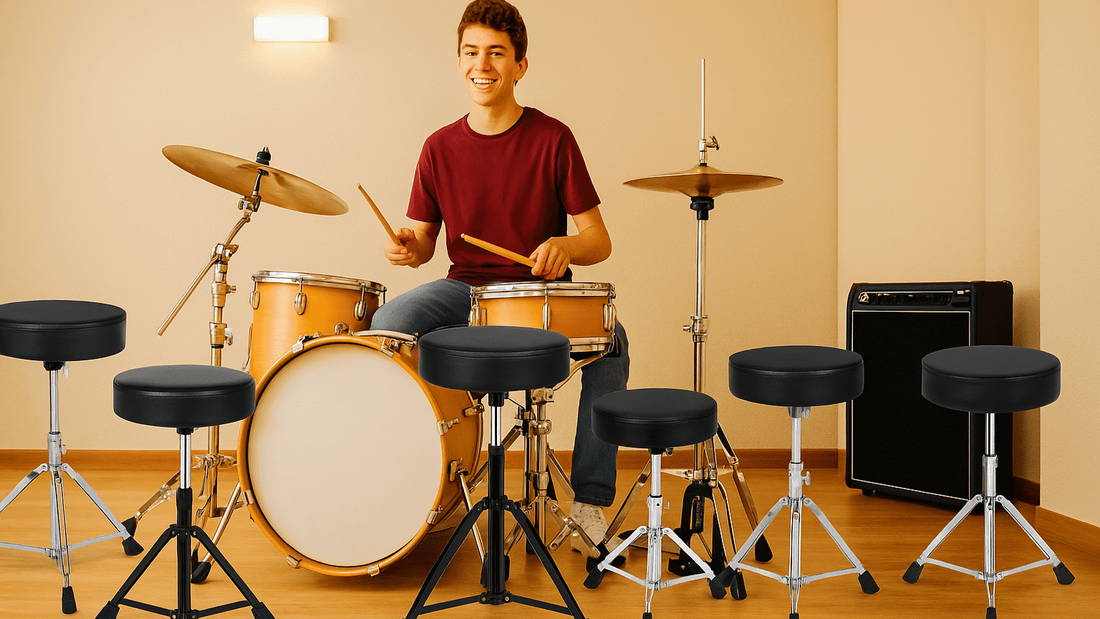
A drum throne under $100 can be a practical starting point, but price alone does not show whether a seat will fit your kit or remain stable in use. Product prices and availability change, so verify the current displayed price before treating any model as an under-$100 option.
This guide replaces a fixed-price 鈥渢op five鈥?list with a repeatable way to compare budget drum thrones. It focuses on features you can inspect: stability, adjustment, seat shape, hardware condition, footprint and how the throne works with your pedals.
Start with the Current Total Price
Use the live product page as the source of truth for the current item price. If a budget limit is strict, review the full checkout amount before ordering. Do not assume a price quoted in an older roundup is still available.
Also check what is included. A low displayed price may refer to a different model, variant or package than the one described elsewhere. Match the product title, images and listed components before comparing two offers.
Budget Check 1: Base Stability
The base should open fully and sit evenly on the floor surface where the throne will be used. Inspect the number and position of the legs, the condition of the feet and whether the centre column rocks when weight shifts across the seat.
- Look for clearly shown locking points and leg braces.
- Check whether replacement feet or hardware are identified by the manufacturer.
- Measure the available space among pedal and stand legs.
- Do not use a throne with damaged, loose or missing structural hardware.
A wide base is not automatically better if it collides with nearby stands. The useful measurement is whether the footprint fits the actual kit layout.
Budget Check 2: Height Adjustment
Confirm that the listed adjustment range suits the intended player. The exact mechanism may use indexed holes, a spindle or another locking design. Each has to be secured according to the product instructions.
When testing a throne, set both feet on the pedals and check whether either foot can move without the player sliding forward or tipping to compensate. Change the height in small increments and retest. Another drummer's measurement is only a reference because leg length, pedal position and seat padding vary.
Budget Check 3: Seat Shape and Dimensions
Round and saddle-style seats contact the thighs differently. Neither shape is universally more comfortable. Compare the listed width, depth and contour with the player's body and normal pedal spacing.
| Seat detail | What to verify |
|---|---|
| Width and depth | Enough usable area without forcing the player onto the front edge |
| Front edge | Does not obstruct normal leg movement at the pedals |
| Contour | Matches the player's leg spacing rather than forcing it |
| Cover and seams | No visible damage, loose material or exposed edges |
Photos can help with shape, but they do not replace dimensions or a test sit. Treat subjective comfort ratings as context, not proof that the seat will suit everyone.
Budget Check 4: Locking Hardware
Budget comparisons often focus on padding and ignore the parts that keep the seat at the chosen height. Review the spindle, clamps, bolts and any memory lock shown in the current product information.
After assembly, check every fastener before playing. The seat should not drop, rotate unexpectedly or separate from the centre column. If a mechanism cannot be secured, stop using it and follow the seller or manufacturer's support process.
Budget Check 5: Setup and Transport
A throne used only at home has different practical requirements from one moved between rehearsal spaces. Check the listed weight and folded dimensions if transport matters. Confirm that loose parts can be packed without damaging the threads or locking surfaces.
For a repeatable setup, record the indexed-hole position, exposed spindle length or memory-lock location where the hardware allows it. Always inspect and retighten the throne after transport.
How to Compare Two Budget Drum Thrones
- Confirm both current product pages and displayed prices.
- Record the adjustment range, seat dimensions and base footprint.
- Note the height and seat locking mechanisms.
- Check whether the throne fits among the intended pedals and stands.
- Use the same short hands-and-feet pattern for each test sit.
- Change one setting at a time and record the most stable position.
This produces a useful comparison without relying on an unexplained star score or a claim that one model is 鈥渂est鈥?for every drummer.
When a Very Low Price Is Not the Best Value
A cheaper throne may be unsuitable if its adjustment range, footprint or seat dimensions do not fit the intended player. Likewise, paying more does not guarantee a better fit. Compare the required features first, then use current price to choose among compatible options.
For used equipment, inspect structural hardware and locking surfaces in person where possible. Cosmetic wear is different from a crack, bent leg or mechanism that cannot hold its setting.
Budget Drum Throne Checklist
- The live product page confirms the current model and displayed price.
- The adjustment range suits the intended player and pedal position.
- The seat dimensions and front edge allow normal leg movement.
- The base fits the available floor space without stand collisions.
- All height, seat and base locks can be secured.
- The throne remains stable during a short four-limb test.
- Transport dimensions and setup records meet the player's needs.
Where to Compare Current Options
Browse the current drum stools and thrones collection, then open individual product pages to verify live details. Current catalogue examples include the Budget Drum Stool and Premium Adjustable Drum Stool; use their product pages rather than this guide for current price and specifications.
If the main question is suitability for a new player rather than budget, use the beginner drum-throne mistakes guide. For positioning after purchase, follow the drum stool setup guide.


